Slideshow-Craft theme
Including a slideshow section in the homepage will allow you to add up to 10 unique images / videos that will appear in the slideshow sequence, linked to various pages of your online storefront. The slideshow images / videos are a great way to entice your shoppers with persuasive images / videos and engage and drive them to explore your products / store.
To customize the spacing and layout of your of the “slideshow” block, you need to:
Spacing from top
Click on the “pixel” dropdown to choose how much space you want in the padding. You can select from 0px – 100px
Spacing from bottom
Spacing from the bottom is also like spacing from top — you can customize the padding space below the block from 0px to 100px, based on your design requirements and visual aesthetics.
Arrow color
Select the arrow color of the slider from the given color picker.
Height
Change the height of the “slideshow” block by selecting from the following four pixel options:
- Small 500px
- Medium 650px
- Large 750px
- Full height

Image alignment
Image alignment will allow you to align the image top to bottom. Whichever option you choose, it will make your image appear as per it.
Image alignment options you can select from the dropdown menu:
- Top left
- Top center
- Top right
- Middle left
- Middle center
- Middle right
- Bottom left
- Bottom center
- Bottom right
For example, if you choose “top left,” the “top” portion of your image will appear in the block. And if you select “bottom right” the entire image will appear and so on.
You can also choose to include or exclude “navigation arrow” by clicking on “Show navigation arrow.” The navigation arrows will be displayed on both sides of the slideshow. They will help your users to scroll through each slide by simply clicking on them — right to left, and vice versa.
Adding slides in the slideshow:
You can add up to 10 slides in the slideshow section, which can be a mixture of images and videos. You can choose to display only images / videos or both.
Text alignment
Align the text either at the left, right or at the center of the slide by selecting one from the drop-down menu.
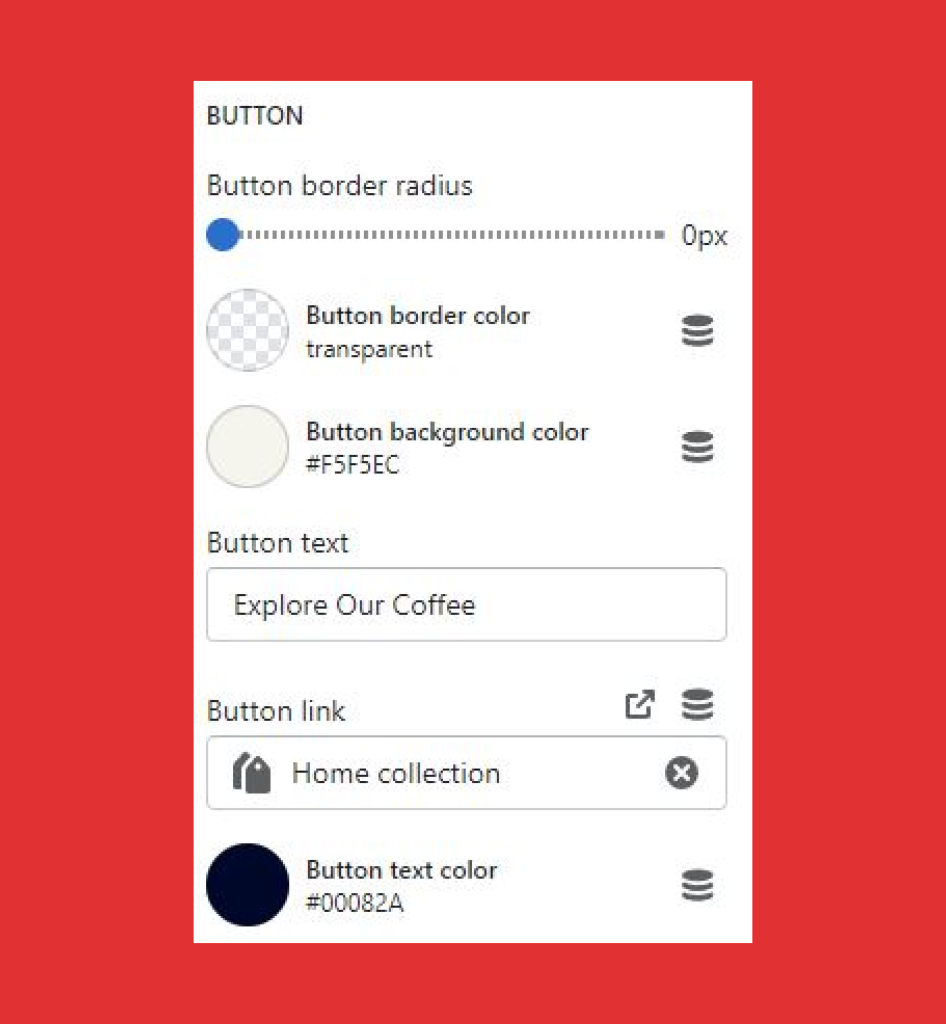
Button border radius
You can customize the radius of the rounded corners of the button. Drag and drop the progress bar to select the width of the rounded corners.
To add image / video in the slideshow, click on “Add block”
Click on each added block to customize the same with image / video, background color, button, text and more.
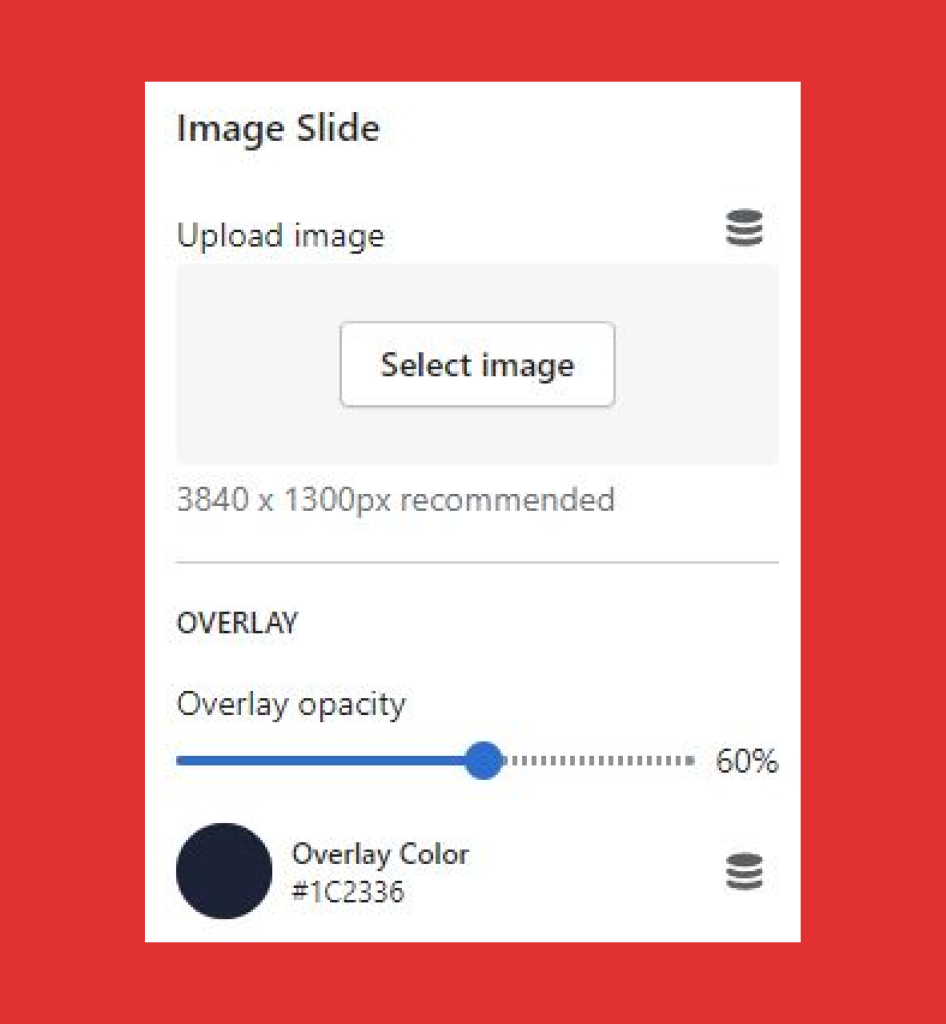
- Add image clicking on “select image” from “upload image” (3840 x 1300px recommended)
- Overlay opacity: You can choose to increase the overlay color from light to dark overlay with the “Overlay opacity” range
- Overlay color: If you want an additional color ting over your banner image and text, select from the color picker or add Hex, (RGB) color code as per your choice.
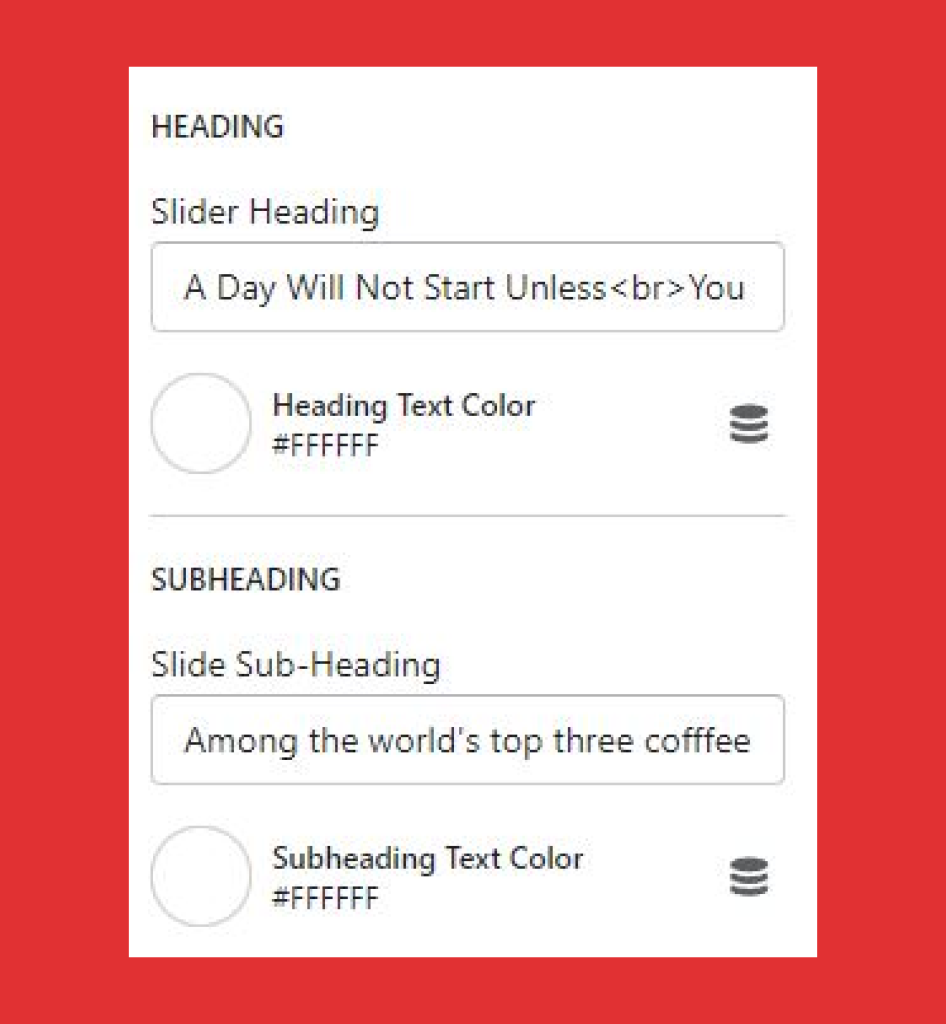
- Heading label: Include a “heading” using the provided text field.
- Choose the color of the “headline text” from the “color picker” or adding the color code in the field
- Sub-heading label: Include a “sub-heading text” using the provided text field.
- Choose the color of the “sub-heading text” from the “color picker” or adding the color code in the field
- Add a CTA button by filling in the CTA text in the “button text” field
- Customize the color of the button border and button background color by clicking on the color picker or adding color code in the field of the “button border color” and “button background color”
- Add the CTA button link in the “button link” field and customize the button text color by clicking on the “button text color” field
Adding a video in the slideshow:
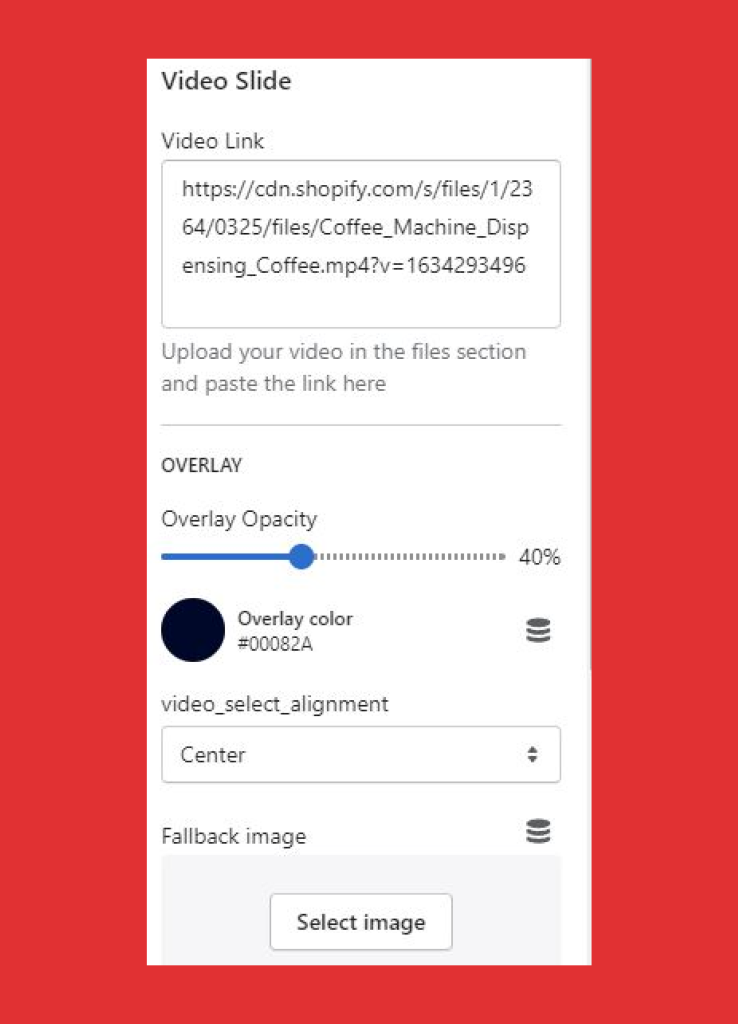
- Upload video in the files section and paste the link in the “video link” field
- Overlay opacity: You can choose to increase the overlay color from light to dark overlay with the “Overlay opacity” range
- Overlay color: If you want an additional color ting over your banner image and text, select from the color picker or add Hex, (RGB) color code as per your choice.
- Select the display image of the video from the “fallback image.” The fallback when autoplaying the video is not supported on mobile devices
- Heading label: Include a “heading” using the provided text field.
- Choose the color of the “headline text” from the “color picker” or adding the color code in the field
- Sub-heading label: Include a “sub-heading text” using the provided text field.
- Choose the color of the “sub-heading text” from the “color picker” or adding the color code in the field
- Add a CTA button by filling in the CTA text in the “button text” field
- Customize the color of the button border and button background color by clicking on the color picker or adding color code in the field of the “button border color” and “button background color”
- Add the CTA button link in the “button link” field and customize the button text color by clicking on the “button text color” field